VLC IMAGE CAPTURE
How to Take a Video Snapshot in VLC and Find the Saved Image
Save a useful frame from your recording without capturing the whole desktop.
VLC’s snapshot feature saves a frame from the playing video as an image. It is useful for a presentation, a troubleshooting report or a reference from your own recording. The snapshot is separate from the video and is not a recording of the desktop or a new video clip.
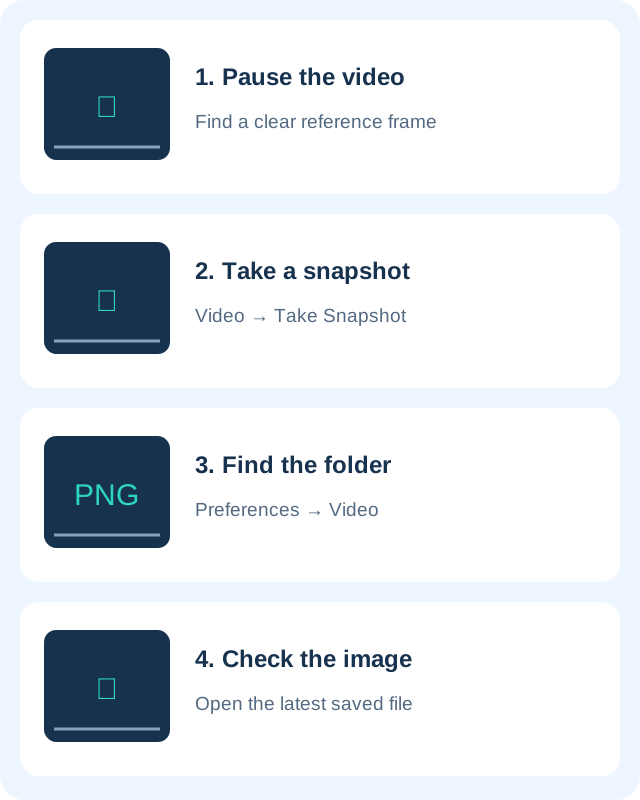
1. Open the video and pause on a clear frame
Open the file in desktop VLC and move near the moment you want. Pause playback and check the frame for motion blur, closed eyes or unreadable text. If it is not useful, move a little earlier or later and try another frame. A sharp source frame matters more than enlarging a blurry one afterwards.
Use the original recording when possible rather than a small copy that has already been compressed heavily. Making the playback window larger does not create detail that is absent from the source. Keep a note of the approximate timestamp if you need to return to the same moment.
2. Choose Video → Take Snapshot
Open VLC’s Video menu and choose Take Snapshot or Snapshot, depending on the interface. VideoLAN documents this menu action for capturing a frame. A brief preview or notification may appear, but check the saved file rather than treating the preview alone as proof that you have the image you need.
The desktop 3.0 tips guide lists Shift + S for Windows and Linux, and Command + Option + S for macOS. Older official documentation lists a different Windows shortcut. Because shortcuts can also be customised, the menu is the clearest starting point. Review your installed version’s Hotkeys preferences if a shortcut does not work.
3. Choose a folder you can find
If you cannot locate the image, inspect VLC Preferences → Video and find the video snapshot directory and format controls. Set a dedicated folder you can write to, save your preferences, then take a fresh snapshot. Default locations differ between systems and configurations, so checking this setting is more reliable than searching a single assumed path.
Open that folder in your file manager and sort by modification time. Look for the newest image. If it is still absent, verify that the folder exists, that there is available disk space and that the application can save there. Try a normal folder in your own user account before changing unrelated VLC settings.
4. Open and inspect the saved picture
Open the image in a viewer. Check that it contains the intended moment and inspect important details at normal size. VideoLAN’s desktop guide describes PNG snapshots. Your preferences may offer another format, so verify the actual output instead of assuming its extension or encoding.
Rename a useful image so you can recognise it later. For an upload limit, work on a copy with the Image Compressor or Image Resizer. Keep the first saved image as your reference. Repeatedly compressing a picture can make fine text and edges harder to read.
What if the snapshot is not what you expected?
If the frame is sideways, review playback orientation and see our VLC rotation guide. If you need to include or exclude captions, inspect the saved result rather than assuming the snapshot matches every visual element in the player. For a support report that needs buttons, menus or an error dialog, use an operating-system screenshot instead.
A snapshot does not include a video’s sound or movement. Share a short permitted clip when the issue depends on motion or audio timing. Before sending any captured image, check for visible names, addresses, private messages and other information belonging to people in the recording.
Official references and related help
- VideoLAN: Video menu and snapshots
- VideoLAN: snapshot shortcuts
- VideoLAN: snapshot directory preferences
- VLC download and setup guides
- Fix VLC subtitle timing
Official documentation checked October 27, 2026.