BLENDER BASICS
How to Save a Blender Render as PNG or JPG
Turn the Render Result into a shareable image without losing your editable project.
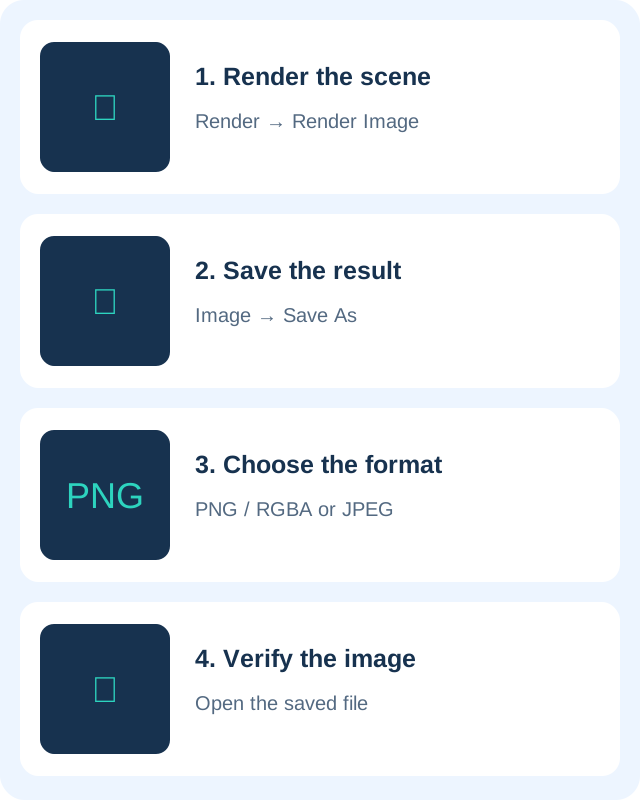
Saving a Blender project and saving a rendered picture are separate actions. The project keeps your scene editable. The exported image is the picture you can upload, print or send to another person. A still render is not normally saved automatically just because the render has finished.
1. Save your project and render one frame
Use File → Save As to keep a named .blend project in your working folder. Check the scene’s active camera and choose the frame you want. Then use Render → Render Image. F12 is the default render-image shortcut, although laptop function-key settings or custom keymaps can change how it works.
Wait for rendering to finish before exporting. If you see an unexpected view, return to the scene and check the camera rather than repeatedly saving the same incorrect result. For a first test, use a modest resolution so that you can check framing and lighting quickly.
2. Save from the Render Result
In the window or Image Editor showing Render Result, open Image → Save As. Choose a folder you can find again and enter a descriptive filename, such as product-front-v1.png. The Image menu belongs to the image view; using the main File → Save command instead saves the Blender project.
Keep versions when comparing lighting or camera changes. Avoid replacing the only good export until the new image has been checked. Saving a .blend file alone is not a substitute for exporting the image you intend to deliver.
3. Choose PNG or JPEG
PNG is a useful choice for crisp graphics and images that need an alpha channel. JPEG is widely compatible and offers adjustable compression for ordinary photographs or previews. JPEG cannot store transparency. Set the chosen format in the save dialog and inspect available color and quality options before confirming.
If you need a transparent background, configure transparent film in the scene before rendering, then export to a format and color mode that preserve alpha, such as PNG with RGBA. A format selection by itself does not remove a rendered background. Check the image over a contrasting background after export.
4. Open the exported file outside Blender
Open the destination folder and view the saved image in an image viewer. Verify pixel dimensions, framing, orientation and fine details. If a website has a size limit, use the Image Compressor on a copy or resize the image to its requested dimensions.
Preserve your original high-quality export. A smaller web copy is convenient for sharing, while the project and original render let you revise the scene later. Renaming a file extension does not convert the underlying format.
Why is my output folder empty?
Blender’s output settings and still-image saving can be confusing. The official manual distinguishes still renders, which normally need manual saving, from animation output written to the configured destination. If your picture exists in Render Result, use Image → Save As rather than assuming it was written to disk. Automated compositing or scripting workflows can behave differently.
Next steps and official references
- Blender Manual: output settings and still-image saving
- Blender Manual: image editing and saving
- Start your first Blender project
- Blender download and setup guides
- Reduce an image file size for uploads
Reference guidance checked October 24, 2026.