AUDIO EDITING
Trim Audio in Audacity and Export an MP3
Keep the useful part of a recording and save a playable copy.
A saved Audacity project is useful for continuing an edit, but it is different from a playable MP3. This guide takes a voice recording with unwanted material at either end and turns it into a short audio file you can share. Work on a copy and keep your original recording until the result has been checked.
1. Import a recording you own
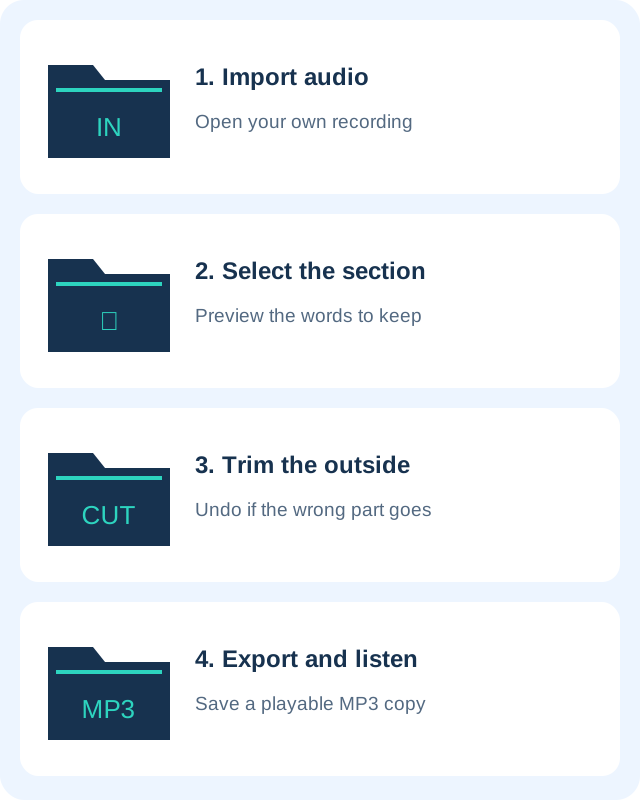
Open Audacity and import the audio through File → Import, or drag a supported audio file into its window. Play a few seconds to confirm that you opened the right recording. If you need the application, use the Audacity overview and official download link. Avoid download adverts and unofficial installers.
Use audio you recorded or have permission to edit. For a private interview, check consent before sharing it. Editing locally does not remove names, addresses or other spoken personal details automatically. Listen for those details as part of your review.
2. Select the part you want to keep
Drag across the waveform to mark the useful section. Start a little before the first word and finish after the last word has ended. Zoom in if the boundaries are difficult to place. Play the selection before cutting anything, so that you can hear whether a breath or final syllable has been clipped.
For example, a recording may contain setup conversation before the actual message and handling noise afterwards. Select just the message, leaving a small natural pause at either end. If several tracks are present, check which tracks the selection affects; this simple workflow is easiest with a single recording.
3. Trim outside the selection
Use Audacity’s Trim command to keep the selection and discard the surrounding audio. Trim is different from Delete: deleting the selected passage removes the part you highlighted. If the wrong section disappears, immediately use Undo and inspect the selection again.
Listen to the new beginning and ending. An abrupt cut through sound can be distracting. Adjust the boundary or apply a short fade where appropriate, and preview again. Keep the editable project if you may need to change the cut later; do not overwrite your only original recording.
4. Export and test the MP3
Choose File → Export Audio and select MP3 as the output format. Pick a destination folder you can find and a new filename, such as voice-message-trimmed.mp3. Review the export scope so that you export the intended audio rather than an accidental selection or unrelated tracks. Labels and options vary between releases.
After export, open the MP3 in a separate player such as VLC. Check its duration, first words, final words and volume. Sending the project file instead of the exported audio will not give the recipient an ordinary MP3 they can play.
Quality and troubleshooting
MP3 is lossy. Repeatedly importing and exporting an MP3 can reduce quality; make edits from the original or a lossless working copy and export the final MP3 once. A higher bitrate does not restore information already lost. Keep WAV or FLAC when a lossless handoff is required and storage allows it.
If the export sounds silent, check track mute settings and the intended export range. If you cannot find the file, repeat the export while noting the full destination folder. If a website rejects it, check that the filename extension and chosen format agree, then consult that website’s file-size and format limits rather than simply renaming the extension.
Official references and related help
- Audacity: basic audio editing
- Audacity: export your audio
- Audacity software page
- Use your own audio as an iPhone ringtone
Official documentation checked October 30, 2026.