GIMP PHOTO BASICS
How to Crop an Image in GIMP and Export It as JPG or PNG
Remove unwanted edges, frame your subject and save a picture you can upload.
Cropping removes part of an image’s frame. It can make a subject clearer or fit a square profile-picture slot. It is different from resizing, which changes pixel dimensions. Start with a copy of your original photo so that you can return to the wider view if you change your mind.
1. Open the image and decide what to keep
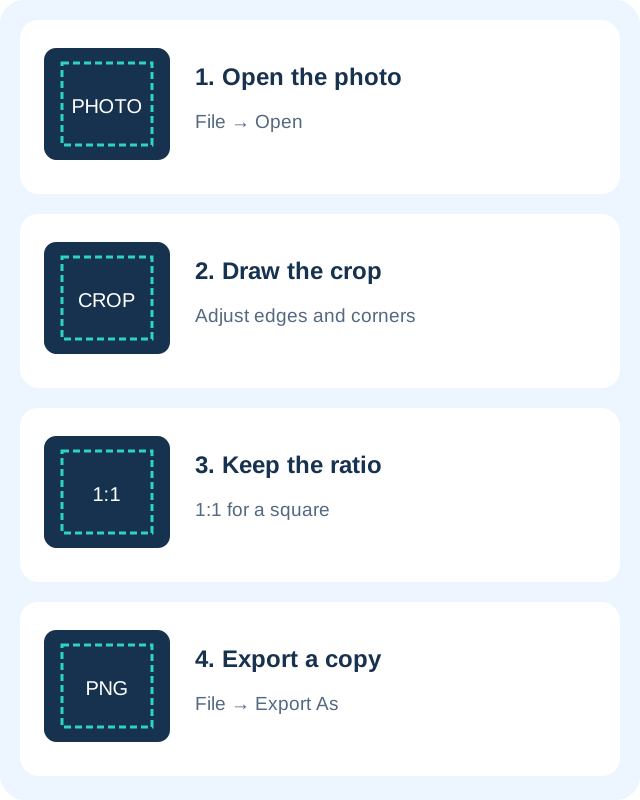
In GIMP, choose File → Open and select your photo. Look at the edges before using any tool. Decide whether you want to remove background, centre a subject or fit a particular shape. Leave enough space around faces, products and important text so that the final picture does not feel cut off.
If the destination specifies exact pixel dimensions, note those separately. A square crop has a 1:1 shape, but it can still contain many different pixel sizes. You may need to resize after cropping to meet a website’s requirements.
2. Draw and adjust the crop rectangle
Choose the Crop tool from the toolbox or Tools → Transform Tools → Crop. Drag diagonally across the part of the image you want to keep. The first rectangle does not have to be exact. Drag its edges and corners to refine the frame before applying the change.
Keep an eye on the subject while adjusting the edges. For a product image, check that the object and any relevant accessories remain fully visible. For a document image, avoid cutting off page corners or small text. Cropping does not repair a blurred or unreadable source.
3. Use a fixed ratio when the destination needs one
Open Tool Options if it is hidden, using Windows → Dockable Dialogs → Tool Options. Enable Fixed Aspect Ratio and enter a ratio such as 1:1 for a square. Adjust the crop again after selecting the ratio. The official GIMP tutorial describes these controls for keeping a consistent shape.
When the frame is right, press Enter or double-click inside the rectangle to apply the crop. Inspect the result before continuing. If you removed something important, undo the crop and try a wider frame. Keep the original file untouched rather than overwriting it while experimenting.
4. Export a JPG or PNG copy
Choose File → Export As, enter a new filename and select a destination folder. Use a .jpg extension for a JPEG photo or .png for a PNG image. GIMP opens format-specific options when you confirm Export. Review those options, finish the export and then open the saved file outside GIMP.
Use JPEG for many ordinary photos where file size matters. Use PNG when you need transparency or lossless image storage. JPEG cannot preserve transparent areas. GIMP’s Save command uses its native XCF project format; use Export to create an image for a typical upload form. Save an XCF copy as well if you want to keep working on the project later.
Check the upload copy
Verify the final dimensions, file type and size in your file manager or image viewer. Inspect faces and small text at a normal reading size. If the image is too large, use the Image Resizer for pixel dimensions or the Image Compressor for file size. Work on a copy to preserve the first high-quality export.
A crop is not a reliable privacy-redaction method for every workflow. Review the final exported file, visible reflections and any metadata before sharing sensitive images. For location information, follow our photo location-data guide. Do not assume that cropping alone removes all private information.
Official references and related tools
- GIMP Manual: crop an image and set an aspect ratio
- GIMP Manual: export images
- GIMP overview and official download
- Reduce image size for uploading
Instructions checked against GIMP’s official manual on October 28, 2026. Labels vary by release and interface language.